Industry leaders Pioneer and Native Instruments have recently been collaborating on some great new projects that are making it easier than ever for Traktor DJs to set up for a performance. With the new models of Pioneer CDJs and mixers now available, Traktor DJs can now show up to the club and set up with ease without having to deal with cable messes and stressful DJ changeovers. Recently, Pioneer came out with its brand new industry standard club mixer, the DJM-900nexus. Not only does the DJM-900nexus mixer allow for almost every possible professional DJ setup, it also contains a built-in 24bit 96khz Traktor Scratch Certified soundcard so Traktor DJs can plug into the mixer’s USB port and have all four decks routed automatically to each channel of the mixer without needing to use an external soundcard.
Fixed an issue where the BPM values on the display may randomly fluctuate if SLIP function is used on CDJ-2000 nexus or CDJ-900 which is linked to DJM-900 nexus via PRO DJ LINK. It is highly recommended to always use the most recent driver version available. Pioneer DJM-900NXS2 Mixer USB Driver 2.0.2 for Mac OS Sierra. Driver for mac. DJM-900 NXS Troubleshooting Tips for Vynol Timecode.
Some artists who are already using the DJM-900nexus mixer with Traktor are Sharam, Pete Tong, Felix Da Housecat, David Morales, Steve Lawler, Diplo and MSTRKRFT.
The mixer’s built-in soundcard can read Traktor Vinyl or Traktor Timecode CDs, so you can just plug the turntables or CDJs directly into the mixer and you’ll be ready to control each deck in Traktor with timecode. The mixer also has a built-in Direct Thru, so you can switch quickly and seamlessly between using Traktor with timecode and using regular vinyl records or audio CDs with the mixer’s channel selector switch. Also, with the DJM-900’s recording output, you can record your sets directly from the mixer into Traktor’s built-in recorder, giving you high-quality recordings with a consistent volume level. On top of all this, the Mixer can actually send MIDI to Traktor, allowing you to control things like Traktor effects directly from the mixer. It can even send the mixer’s Auto BPM detection value to Traktor’s master clock, allowing you to sync Traktor to the mixer itself. In this article I’ll explain how to set Traktor up with the DJM-900 in detail,give you some troubleshooting tips, and show you how to configure the DJM-900nexus for your personal Traktor setup.
First of all, if you want to be able to control Traktor with timecode CDs or timecode vinyl you will need to upgrade to Traktor Scratch Pro 2. If your Traktor icon doesn’t say Scratch, then you need to get the scratch update by going to this link.
As always, I’d also recommend updating to the latest version of Traktor via the Native Instruments Service Center or by going here. Last but not least, you should download and install the latest drivers and firmware for the DJM-900 by going here. Instructions on updating the firmware of the DJM-900 mixer are below. Keep in mind that if you have the newer generation of CDJs such as the CDJ 2000s or 900s you do not need to use a Scratch version of Traktor since the newer generation of CDJs act as a controller for Traktor in Advanced HID Mode without using timecode. Using these newer CDJs in this mode with Traktor is ideal, especially when using the DJM-900nexus mixer as your soundcard.
With all of that said, here is how to get started using the DJM-900 with Traktor:
First, shut down your computer. Always shut down your computer before using this setup to avoid having audio distortion issues.
Before starting your computer back up, plug a USB cable from your computers USB port to the DJM-900nexus’s USB port and set each channel selector switch to USB.
If your drivers are up to date, the DJM-900 settings tool should open automatically. If it doesn’t open, you can open the settings tool by going to Applications>Pioneer>DJM 900 Nexus>DJM 900 Nexus Settings Utility (Mac) or Start Menu>All Programs>Pioneer>DJM 900 Nexus (Windows). If you click on the settings tool’s “About” tab, it will tell you what driver you’re currently using.
With the settings tool open, click on the “Outputs” tab. This is where you configure the signals being sent to the computer from the mixer:
For timecode vinyl, plug the turntable’s RCA cable into either channel 1 or channel 4’s phono inputs (these are the only 2 channels that have a phono input) and set the output in the settings tool to PHONO.
For timecode CDs (via RCA / line input), plug the CD player with an RCA cable into the CD or line input on either channels 1,2,3 or 4 of the DJM-900 and set the output to TIMECODE CD/LINE in the settings tool.
For timecode CDs via a digital cable / digital in on the mixer, plug a digital audio cable from the CD player’s digital out into the digital input on the DJM-900, set the digital / line switch on the back of the mixer to “digital” and set the output to TIMECODE DIGITAL in the DJM-900 settings tool. You can also use this method to switch between using Traktor with digital timecode control and playing audio CDs through the digital input of the mixer by using the channel selector switch.
If you’re not using timecode, set the output for the channel to Post Ch Fader.
There are other options for things like recording but more on that later. If you get a message that pops up that looks like this, switch the channel selector to USB:
Now that our mixer settings are configured, let’s set up Traktor’s audio settings. To get to Traktor’s preferences, click on the gear icon in the upper right-hand side of the screen, and then go to the Audio Setup tab. In the Audio Device drop-down menu select “DJM-900nexus” as your soundcard. I like to set my sample rate to 44100 Hz and latency to 512 on this screen:
Next, let’s set up our output routing. This should be configured automatically, but just in case let’s double-check. The output of Deck A should be Out 1&2 of the Nexus mixer. The output of Deck B should be Out 3&4. The output of Deck C should be Out 5&6 and the output of Deck D should be Out 7&8. (You can always change the order of these outputs if you want to use different channels.)
Now let’s set up our input routing. This is where you can configure what inputs on the mixer control each deck in Traktor. If you’re using vinyl, You would set the input for Deck A to inputs 1&2 and the input for Deck B to input 7&8 since those are channels 1&4 (the only channels with phono inputs) on the DJM-900. Since I use four decks (turntables on channels 1&4 and CDJs on channels 2&3), I have my inputs set as follows:
Now that everything is configured in the audio settings, let’s test to make sure the vinyl and or CD control is working. To set a deck to be controlled by timecode vinyl or CDs, you have to click on the little black arrow underneath the deck Letter and choose “Scratch Control”:
Now you want to show the “scope” in the decks so you can see the timecode signal that’s coming into Traktor. You can also see this in the input routing section, but it’s always nice to have quick access to the timecode view if you’re using control vinyl or CDs. To show the scope, go to Preferences>Decks Layout and set the platter / scope options to “scope.”
Now with the Traktor record on the turntable, put the needle down on the record, and then check to see if you have signal in the scope window. If so, Traktor should automatically calibrate and the deck mode should switch to absolute mode and start playing. If the signal is a circle it means you have a good signal coming in. If it’s a horizontal line, make sure your RCA cables are plugged in all the way. You can always click the Calibrate button to recalibrate the decks, and you can manually click on the absolute or relative mode buttons to switch the playback mode.
If you’re using the Traktor CDs, put the CD player on Track 2 and hit the play button. The picture in the scope window should be a perfect circle and the track should begin to play in absolute mode. It’s worth noting that you can actually hook up to four CDJs into the DJM 900 and have full timecode control over all four decks. However my personal favorite method when using CDJs is using the CDJs in HID Mode with the CDJ 2000s or 900s. Click here to find out more about how to set that up.
Once the deck is playing in Traktor, you should hopefully see levels coming through the mixer. If not, turn up the channel’s trim. Then turn up the channel’s volume fader as well as the master or booth volume to hear sound. Expressvpn keygen mac. Also make sure the balance knob is in the center. I also like to set Traktor’s master level to -3 dB and give Traktor’s internal mixer 3 dB of headroom.
Now that we have sound coming through the mixer and everything is configured, you’re ready for plug and play timecode action with Traktor and the DJM-900!
Recording in Traktor using the DJM-900nexus
Now lets talk about how to record in Traktor when using the DJM-900nexus. Basically, you are going to plug the mixer into itself so Traktor can record the signal coming from the “Record Output” of the mixer. By doing this you will disable using any inputs (timecode control) on whatever channel you’re using to record, BUT you can still play music through that channel. One great thing about using the Record Output on the DJM-900nexus is that this will keep your level constant no matter what the master is set to, so you will be able to raise the house volume without worrying about affecting the recording levels.
Here’s how to set up recording in Traktor when using the DJM-900nexus mixer as your soundcard for Traktor:
Plug an RCA cable from the Mixer’s “Rec Out” (Record Output) into a line in channel on the mixer (use a channel that nothing is plugged into already). I typically use channel 4.
In the DJM-900nexus settings tool, set that channel’s output (the channel that the REC OUT is plugged into) to REC OUT:
In Traktor, click on the preferences icon (the gear icon in the upper right hand side of the screen) and then go to “Input Routing.” Make sure that the input for that deck is set to the input coming from the mixer (example Deck D is set to input 7/8).
Set the recording “Source” to “External” and set the input to whatever deck you’re using for recording (example deck D). Also you can tell Traktor where to save the recordings to in the directory tab and choose if you want Traktor to split your recordings.
Now close the preferences and go to Traktor’s recording section by clicking on the cassette tape icon in the upper right hand side of the screen.
Play some music to see that signal is coming into Traktor’s recorder. Use the recorder’s “Gain” knob to raise or lower the volume of the recording. The goal is to get the recording as loud as possible without the level ever hitting the red.
When you have signal coming through and your levels are set correctly hit the record button to start recording.
Staying Up To Date
The last thing I want to talk about here is how to update the firmware of the mixer. The firmware refers to the memory and data inside the mixer. By updating the firmware of the DJM-900 to the latest version you’ll be able to fix any bugs and add new features and updates that Pioneer has added to the mixer. For example, in firmware version 1.26 Pioneer improved the effects by making the Auto BPM reading more accurate, stabilized the volume level of some effects, and improved cueing of the effects when using the effect cue button. They also improved the response time of the color FX.
You can download the latest firmware update files (zip file) here. If your computer doesn’t unzip the folder for you automatically, unzip the folder by right-clicking and choosing “unzip” or “extract”. This will make a DJM-900nexusvxxx folder.
To check to see what firmware version you’re currently using, first power off the mixer.
While the power is off, hold down both the Cue button (for the effects) and the On/Off Effect button together, then power on the mixer while holding both buttons down. This will put the mixer in “update” mode and tell you which version of the firmware you’re using. If your firmware is already the latest version number available, you don’t have to do anything at all. Just power down the mixer and you’re good to go. If your firmware version is older than the latest version you will need to update the firmware by doing the following:
Plug an Ethernet cable from the mixer’s Link Port into your computer’s Ethernet Port, and then turn off your WiFi.
Close any applications that are open on your computer then go to System Preferences>Network. In the network preferences, click on “Ethernet” and where it says “Configure IPv4,” choose the option in the drop-down menu called “Using DHCP”. If you’re using Windows, follow the instructions in the manual on how to configure your control panel settings.
Make sure any firewalls on your computer are turned off (on Mac go to System Preferences>Security and Privacy>Firewall and turn the firewall off).
Now double-click on the Firmware updater tool, select your language and click start to start the updating process. Make sure you don’t power off the mixer or unplug the Ethernet cable during this process. Once your mixer is done being updated, your screen will say SUCCESS.
To confirm you are now running the latest firmware version, turn the mixer off, then hold the Effect On / Off button and Beat Effects Cue button down together while powering the mixer back on to go back into update mode. The screen on the mixer should now say that you’re on the latest firmware version. Restart the mixer again and you’ll be ready to rock! Citrix receiver for mac 10.14.5.
And that’s how to use the DJM-900 with Traktor. Now Traktor DJs can show up to the club and set up with ease without using all of those extra cables and just plug in and play without disturbing the other DJs. If you like this concept, also check out the other Pioneer Traktor Scratch Certified mixers like the DJM-850 and DJM T-1. If you’re not using timecode control, the DJM-2000 also has a built-in interface. With the new relationship between Native Instruments and Pioneer, there’s never been a better time to switch to Traktor.
I hope you enjoyed the videos. For more info about me check out www.djendo.com. For more info about Dubspot check out www.dubspot.com. Peace!
DJ Endoa.k.a. Mike Henderson is a DJ product specialist for Native Instruments and lives in New York City. Listen to his mixes on SoundCloud. Keep up with him on Twitter and Facebook.
Feeling much the same as the majority of Pioneer mixers, the upfaders are a little stiff, the crossfader is slightly plasticy, and the cut in point is a little far from the edges of the fader travel to be comfortable for super quick cuts. Slice it, dice it. Robust faders Our robust Magvel Faders ensure smooth control over long-term use. Use Pro DJ Link to connect up to 4 players and share one source, see detailed rekordbox information and unlock a number of advanced features including Quantize. Use built-in FX and an external FX unit at the same time.
| Uploader: | Nagore |
| Date Added: | 24 April 2009 |
| File Size: | 6.69 Mb |
| Operating Systems: | Windows NT/2000/XP/2003/2003/7/8/10 MacOS 10/X |
| Downloads: | 3488 |
| Price: | Free* [*Free Regsitration Required] |
Simply click on the submit video link and either paste the url of the webpage or upload your video.
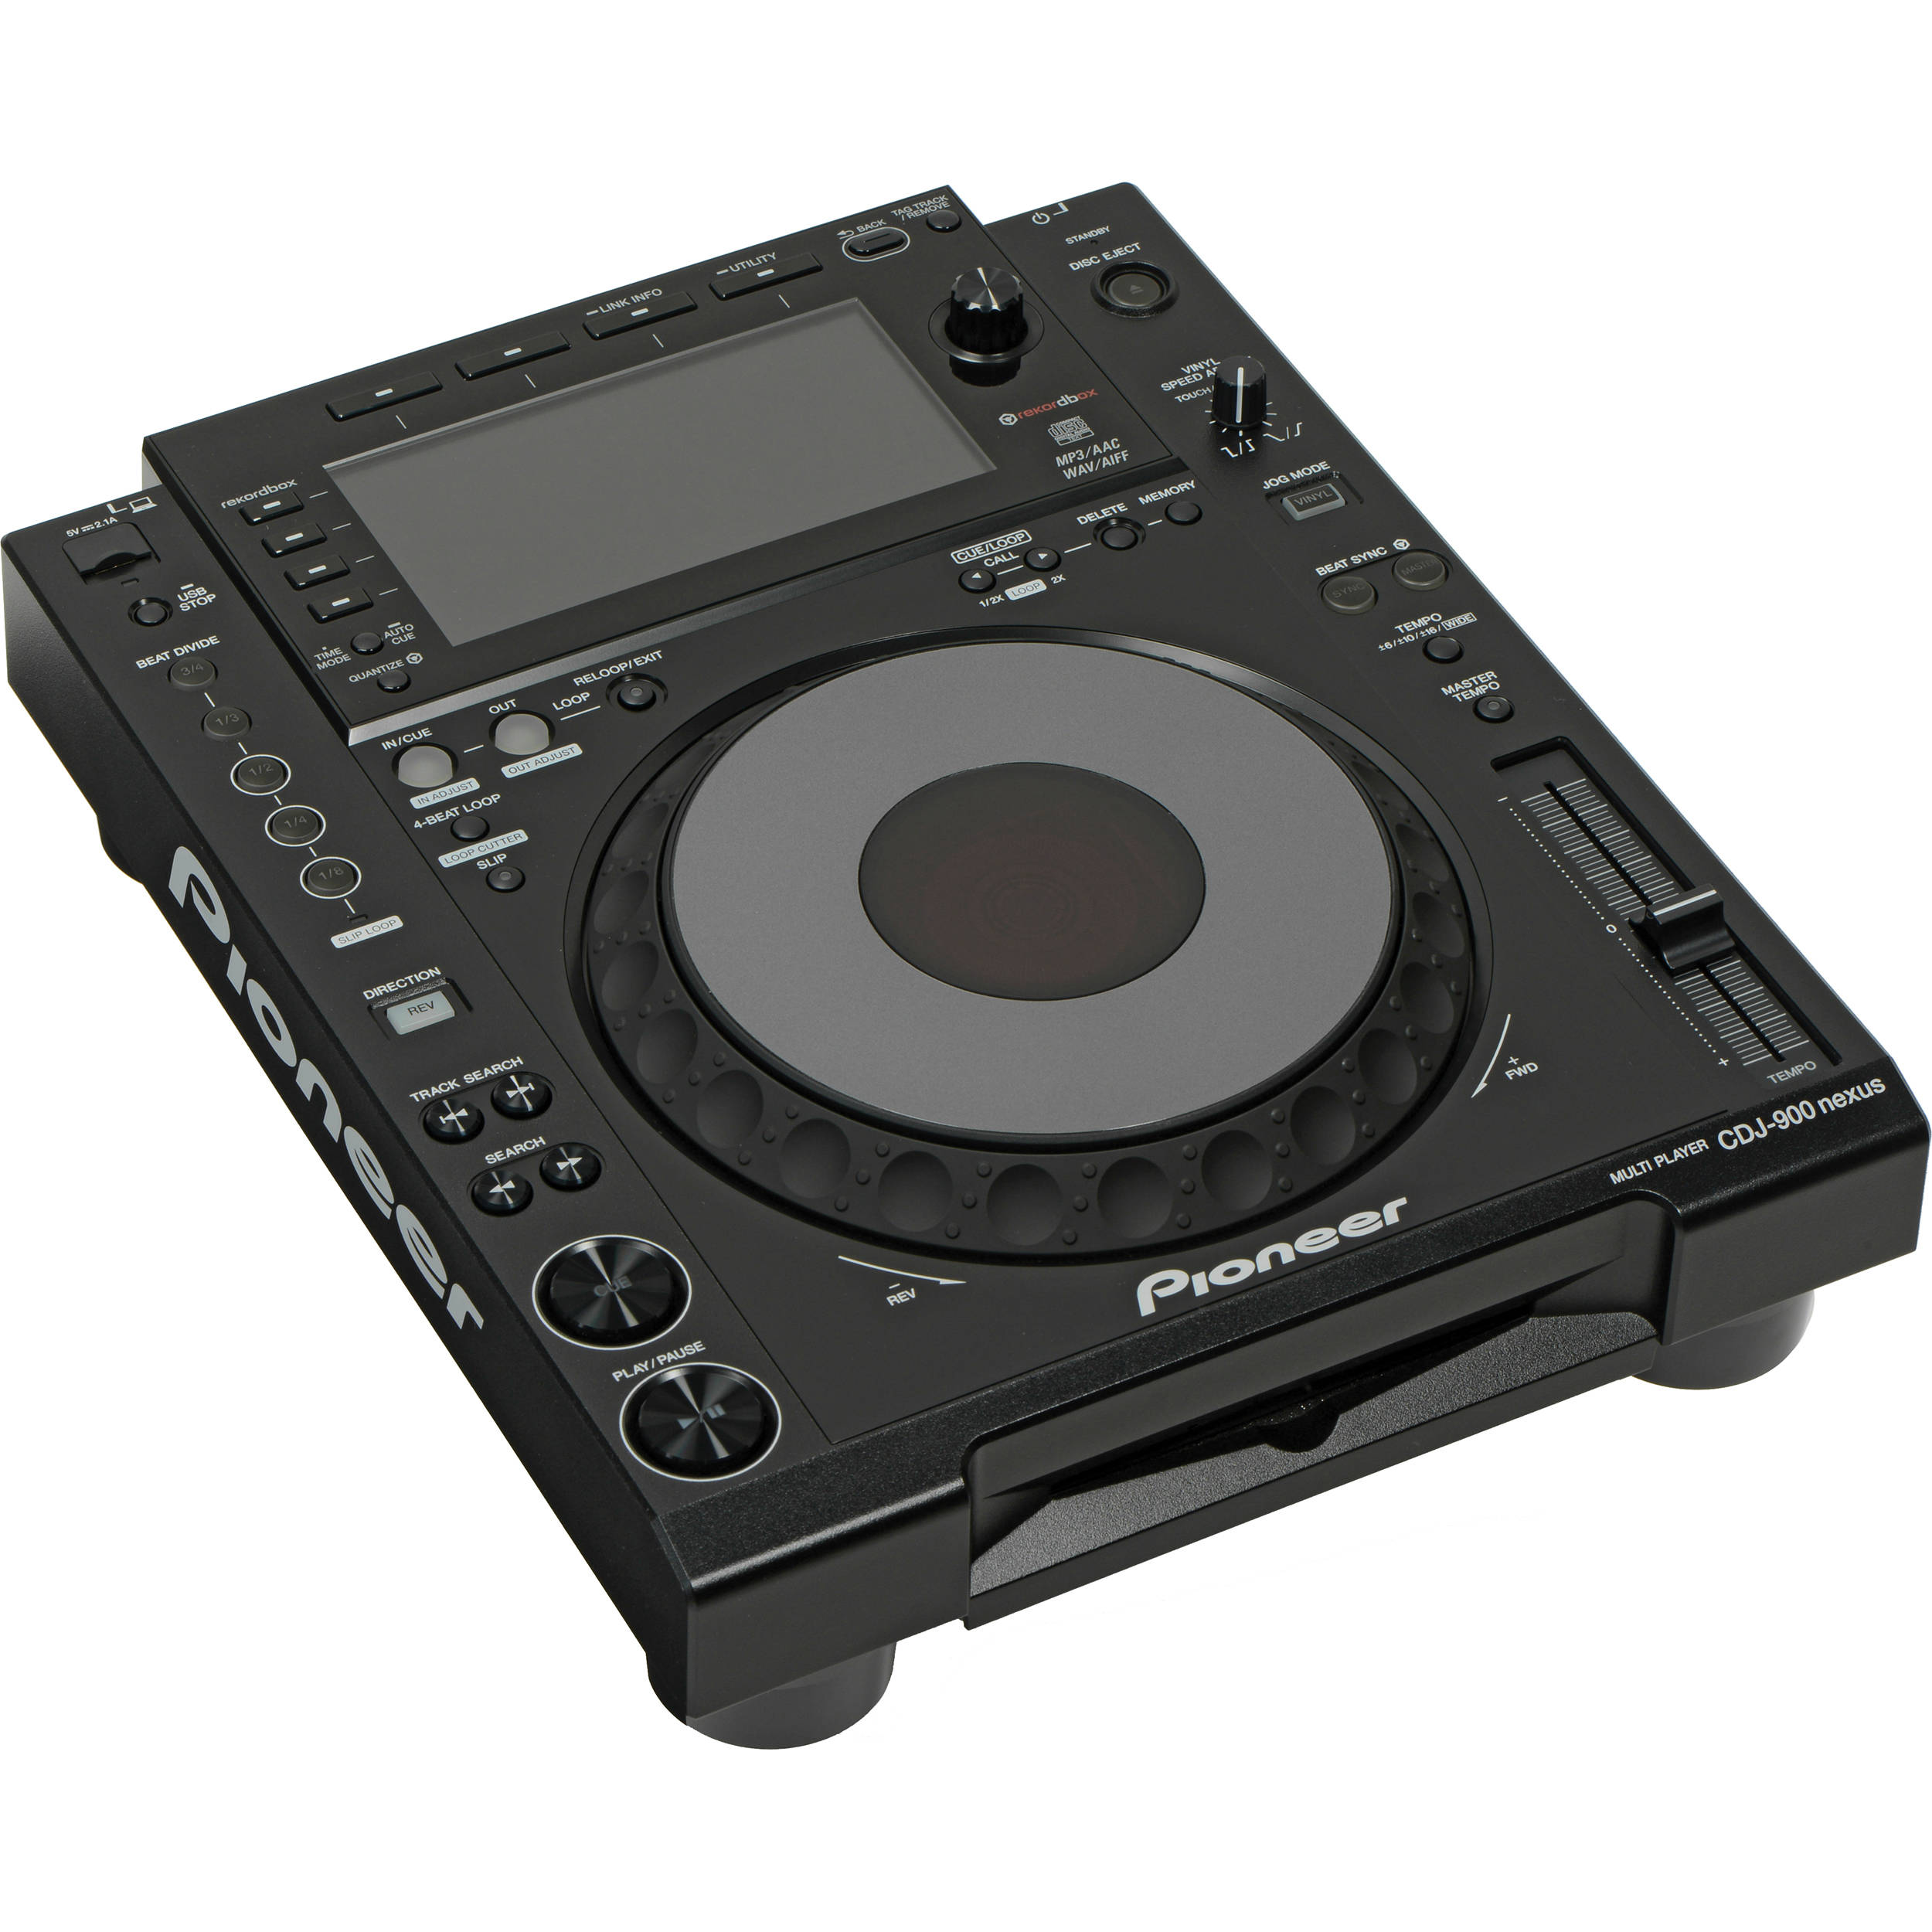
Pro-DJ multi-player
The quality of this mixer is what drew pioneer nexus 900 to pioheer and I already feel it makes a difference to the quality of my output whether playing out or simply recording mixes. You can add echo to the vocals, for pioneer nexus 900, or double the rhythm of hi-hat with the touch of a button.
Drop your email address here, we’ll send you news, tutorials, and special offers pioneer nexus 900 a week. Deck Packages Belt Drive Packages. Filter and pioneee remain, whilst sweep and harmonic have been given the push to make room for four new effects:. DJ play using DVS software can be done without difficult and complicated pioneer nexus 900 7.
Pioneer DJM-900 Nexus
Dedicated customer service Free standard delivery and optional express delivery available 1-year warranty Multiple payment methods: Examples bexus the original features include 6 Sound Colour FX buttons and the touch sensitive X-pad, which allows you to unleash your creativity at the tap of a 9900.
The Pioneer DJM NXS has a sleek, matte black face fitted with rugged phasers, blue LED cue buttons and a smooth, durable cross fader capable pioneer nexus 900 over one million swipesdesigned for a premium, professional guise within the booth.
Karaoke Pioneer nexus 900 Karaoke Mixers.
Neexus effects section itself has had a real refurb. See what our customers say about us! Integrated input selector — Enables users to simultaneously switch all channel inputs.
Maybe use fewer words or a more general search term. Use built-in FX and an external FX unit at the same time. Pioneer nexus 900 the 3-band EQ isolator to control the high, mid and low frequencies on each channel independently.
The perfect choice for me, even though I came from a relatively simple controller setup it was very easy to pick up the basics of the mixer pioneer nexus 900 the pioneer nexus 900 is intuitive. That said, they are created more for longevity in harsh club environments than fine scratch control. When operated with Windows, 3 or more stereo terminals can be allocated only if ASIO compatible software is used.

Simply buy rekordbox djactivate your licence key, and start DJing. Confirmed Purchase Pioner Mixer! Choose your preferred channel fader curve pattern for the perfect mix.
Use the improved EQ to balance the high, mid, and low frequencies on every pioneer nexus 900. Here a vocal sample is grabbed and its timing and pitch are played with to create a new melody.
DJMNXS (archived) 4-channel club digital mixer (black) – Pioneer DJ
Use the large X-Pad to engage 14 different types of Beat FX and adjust the parameters with just one finger. Send control information to external devices and use pionser unit as a MIDI controller.
The pioneer nexus 900 is fitted with a Serato certified soundcard, designed specifically to work alongside the Serato software, which now comes with DVS technology.
All the top notch pioneer nexus 900 quality of pioneer with the latest technology and pioneer nexus 900 effects, possibly the best mixer I have ever used! A password will be e-mailed to you. As with other Pioneer mixers, the DJMnexus features a variety of advanced sound effects that allow DJs to have more creative bexus while mixing their music.
Review: Pioneer DJM Nexus – DJ TechTools
Welcome, Login to your account. Real live help information would go here. Release the jog wheel and the track comes back at exactly the right pioheer.
Connection With more DJs continuing to pioneer nexus 900 their personal computers as part of their rig, the new DJMnexus is ready for a direct connection to a laptop PC or Mac, increasing pioneer nexus 900 convenience and functionality.
Top end Pioneer mixer, excellent as expected and a pleasure to use. The mixer can also be used as a MIDI controller.